How to Use Double Sided Mounting Tape for Number Plate Mounting
Contrary to popular belief, screws aren’t always necessary for a safe and secure number plate mounting. In fact, as long as you’re using a high-quality, high-tack adhesive designed specifically for mounting external fixtures, you should be able to trust that your number plate won’t fall off under any circumstances.
Whether you’re replacing a broken plate or mounting a newly purchased plate for a customer at your auto shop, this guide is here to help you understand everything you need to know about removing and mounting license plates.
Best Tape for Number Plate Mounting
Wondering which tapes are best to use for mounting a license plate? Whether you’re fixing to the front or back of a vehicle, find our top suggestions below.
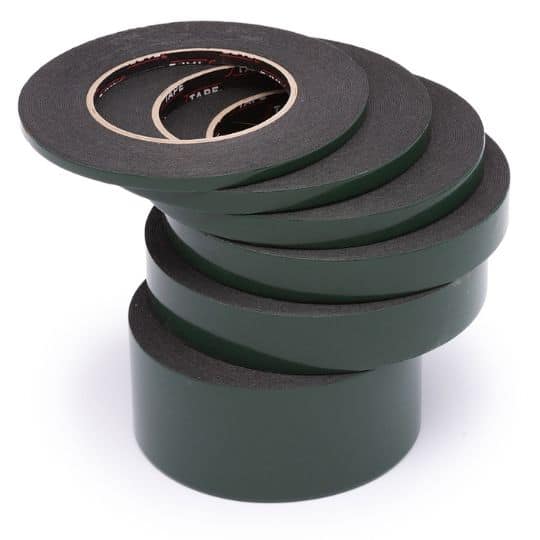
Double Sided Mounting Tape

Our high-tack adhesive solution is perfect for many types of permanent fixings, including number plates and decals. With great resistance to weather, solvents, chemicals, UV and heat, this Double Sided Mounting Tape can be trusted to stick to the vehicle in all circumstances and conditions.
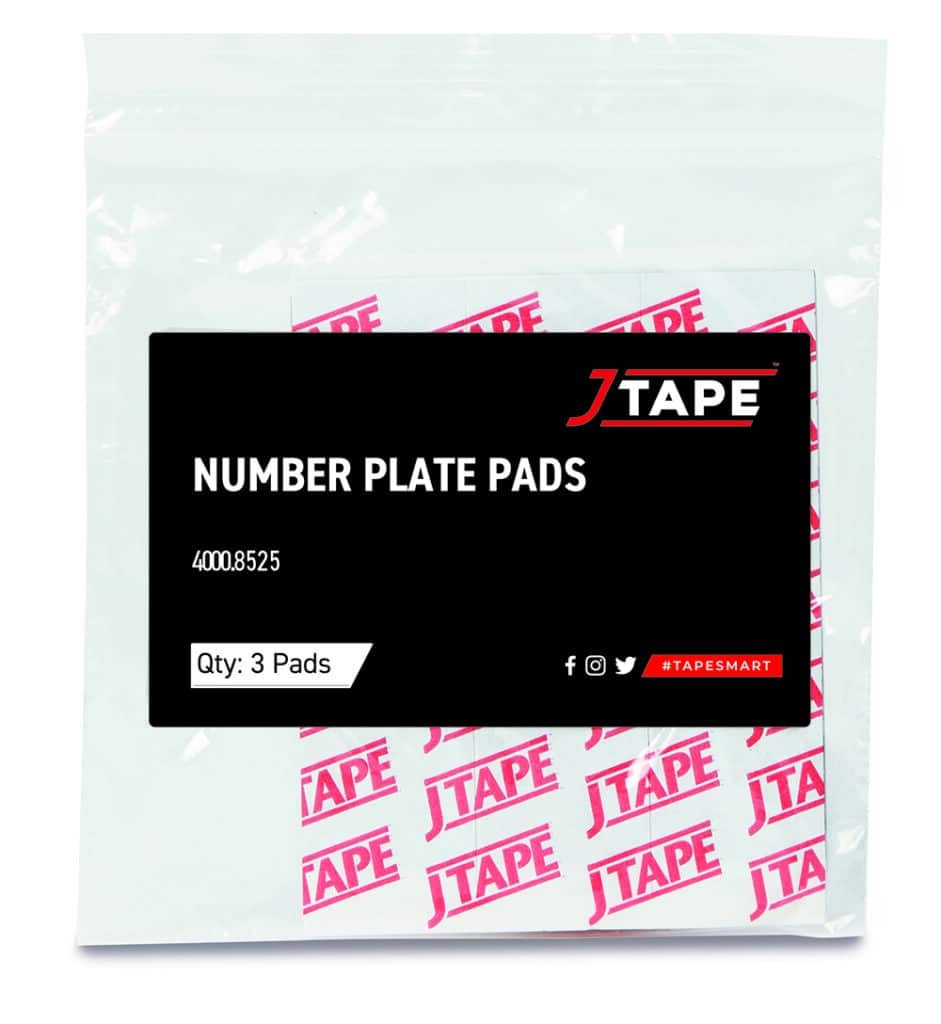
Number Plate Pads

Looking for a quick and easy way to mount license plates on the front and back of vehicles? JTAPE’s Number Plate Pads provide excellent specialist adhesion designed for this application. They come in a range of different pack sizes depending on your needs, from 3 pads to 1000. All you have to do is peel back the protective release liner and attach it to the back of the plate for a perfect fixing every time.
High Strength Acrylic Tape
Often a popular choice for permanent fixings such as number plates, our High Strength Clear Acrylic Tape is double sided and provides excellent resistance against solvents, chemicals, UV and heat. This super-strong tape provides unmatched adhesion making it the perfect choice for bonding items to the front and back of a vehicle.
How to Remove a Number Plate
Unscrewing a number plate from the front or back of the car is a relatively straightforward process, as long as you have the right tools for the job. For this, you’ll usually need a screwdriver to loosen the screws fixing the plate to the vehicle.
Start by opening the plastic screw covers if there are any. You can then see what type of screwdriver is needed to undo the screws. The most common screw heads used are flatheads. Once the screws have been removed, you should be able to remove the license plate easily.
If the plates were secured using Double Sided Mounting Tape or pads, these will need to be loosened to remove the license plate from the vehicle. Although this process might take slightly longer because of the high-tack tape often used, you can use tools such as floss or plastic and metal scrapers to help loosen it.
How to Mount a Number Plate
Ready to get started on mounting a number plate using our product range? Below, we’ll take you through the step-by-step process.
1. Clean the area
Starting with a clean base will not only help you avoid damaging the paintwork, but it’ll also ensure the adhesive has a proper base to stick to. Start by soaking a clean cloth or sponge in a mixture of exterior shampoo and warm water and rubbing this onto the area. This should then be dried thoroughly using a second clean cloth.
2. Apply the mounting tape to the number plate
Using your choice of tape solution, remove the backing on one side and attach this to the back of the number plate. The number of tape pieces or pads you use is up to you, but remember that the more you use, the stronger the adhesion will be. We recommend using at least two pieces of tape on each side of the license plate.
Once you’ve applied each piece, it’s time to remove the protective release liner. Be careful not to touch the adhesive at this stage since this could reduce the effectiveness.
3. Position the number plate
While this step might be time-consuming, it’s important to get the positioning right the first time. Nobody wants a wonky license plate that’s difficult to re-position because of the strong adhesive.
Spend as long as necessary lining the plate up with space on the front or back of the vehicle.
4. Apply pressure to the plate
Once everything is in position and you’re happy, apply a decent amount of pressure to the front of the number plate for at least ten seconds. This will ensure the number plate is secured and that the adhesive sets in place properly.
What to Avoid when Mounting a Number Plate
When mounting license plates, there are a few things you must avoid if you want to guarantee the longevity and quality of your application.
- Avoid tapes that aren’t water resistant: Number plates are almost guaranteed to be exposed to wet weather at some point, which is why the adhesive used to bond the back of the number plate to the vehicle must be water resistant. It’s also a good idea to find a high-quality mounting tape that’s resistant to UV and heat.
- Avoid scratching the paintwork: Scratching paintwork is a major concern when removing an old number plate and mounting a new one. Always take extra care to clean off any debris thoroughly and ensure any sharp objects used to remove the adhesive aren’t dragged across the paintwork.
- Avoid low to medium tack tapes: Although there are several lower tack double sided tapes on the market, these aren’t ideal for this application. It’s important to use a high-tack tape since this will guarantee that the number plate remains firmly in place.
We hope you enjoyed this guide going over the ins and outs of using our double sided tapes to mount number plates onto a vehicle. From our tips on what to avoid to our top product suggestions, our experts hope this helps you achieve the perfect application.
Here at JTAPE, we’ve curated our range of tape solutions to assist automotive professionals with all types of jobs. Visit our online store to discover our available products, or contact us to find your local distributor.


