In this guide, we’ll explain the best method for removing automotive paint effectively and efficiently, alongside offering our top tool recommendations for the job and other removal techniques you could try in your body shop.
Automotive paint removal tools
Which tools are best for automotive paint removal? Here are a few of our top suggestions:
- Cloth protection tapes
- Surface conditioning tool
- Sanding tool
- Semi-flexible discs
- Surface conditioning discs
- Disc backing pads
If you choose to use an alternative removal method, it’s likely that you’ll still need a few of these tools alongside others like a chemical paint stripper and a sandblaster. The type of abrasive disc you choose will also depend on which sanding tools are available in your body shop, which is why we recommend investing in a surface conditioning tool since these can work quickly on larger tasks like paint removal.
How to remove automotive paint
So, what is the best method for effectively removing automotive paint? Provided you have the correct tools and understand the best techniques to achieve your goal, this task can become simple and easy. Of course, the larger the area you’re working on, the more attention will be needed to ensure the paint layers are fully removed across the entire panel or vehicle. Below you can find the step-by-step instructions for our recommended removal method.
Step 1: Apply Cloth Protection Tape
The first thing you need to do is properly mask off any areas not involved in the paint removal process using a durable and effective cloth tape such as the JTAPE Black Premium Cloth Protection Tape. This is because it can adequately protect the surfaces underneath when sanding the adjacent panels using a variety of tools and techniques.
Step 2: Apply chemical paint stripper
In this method, we’re using a combination of chemical paint stripper and abrasives to effectively remove multiple layers of paint. Therefore, you’ll need to pour the chemical paint stripper onto any flat surfaces before brushing a thick layer of the solution onto any vertical surfaces to prevent dripping. Allow this to sit for around 20 minutes before moving on to the next step since this will allow it to get to work breaking down the paint layers.
Alternatively, you can apply a small amount of the paint stripper to your sanding discs in the next step. Either way, adding the stripper before sanding the paint can reduce the amount of dust being produced and help you remove the paint quickly.
Step 3: Set up your surface conditioning tool
Properly setting up your surface conditioning tool by setting the speed and inserting a new surface conditioning disc with a disc backing pad is essential for ensuring this process goes smoothly. This can be done while you wait for the chemical paint stripper to activate on the vehicle’s surface.
A lower speed is best to start with since you can always increase the speed if the disc isn’t removing paint quickly enough. This way, you can avoid sanding too deeply into the vehicle’s surface and potentially damaging the metal. We also recommend using a new surface conditioning disc since this will offer maximum abrasiveness and break down the paint into large balls.
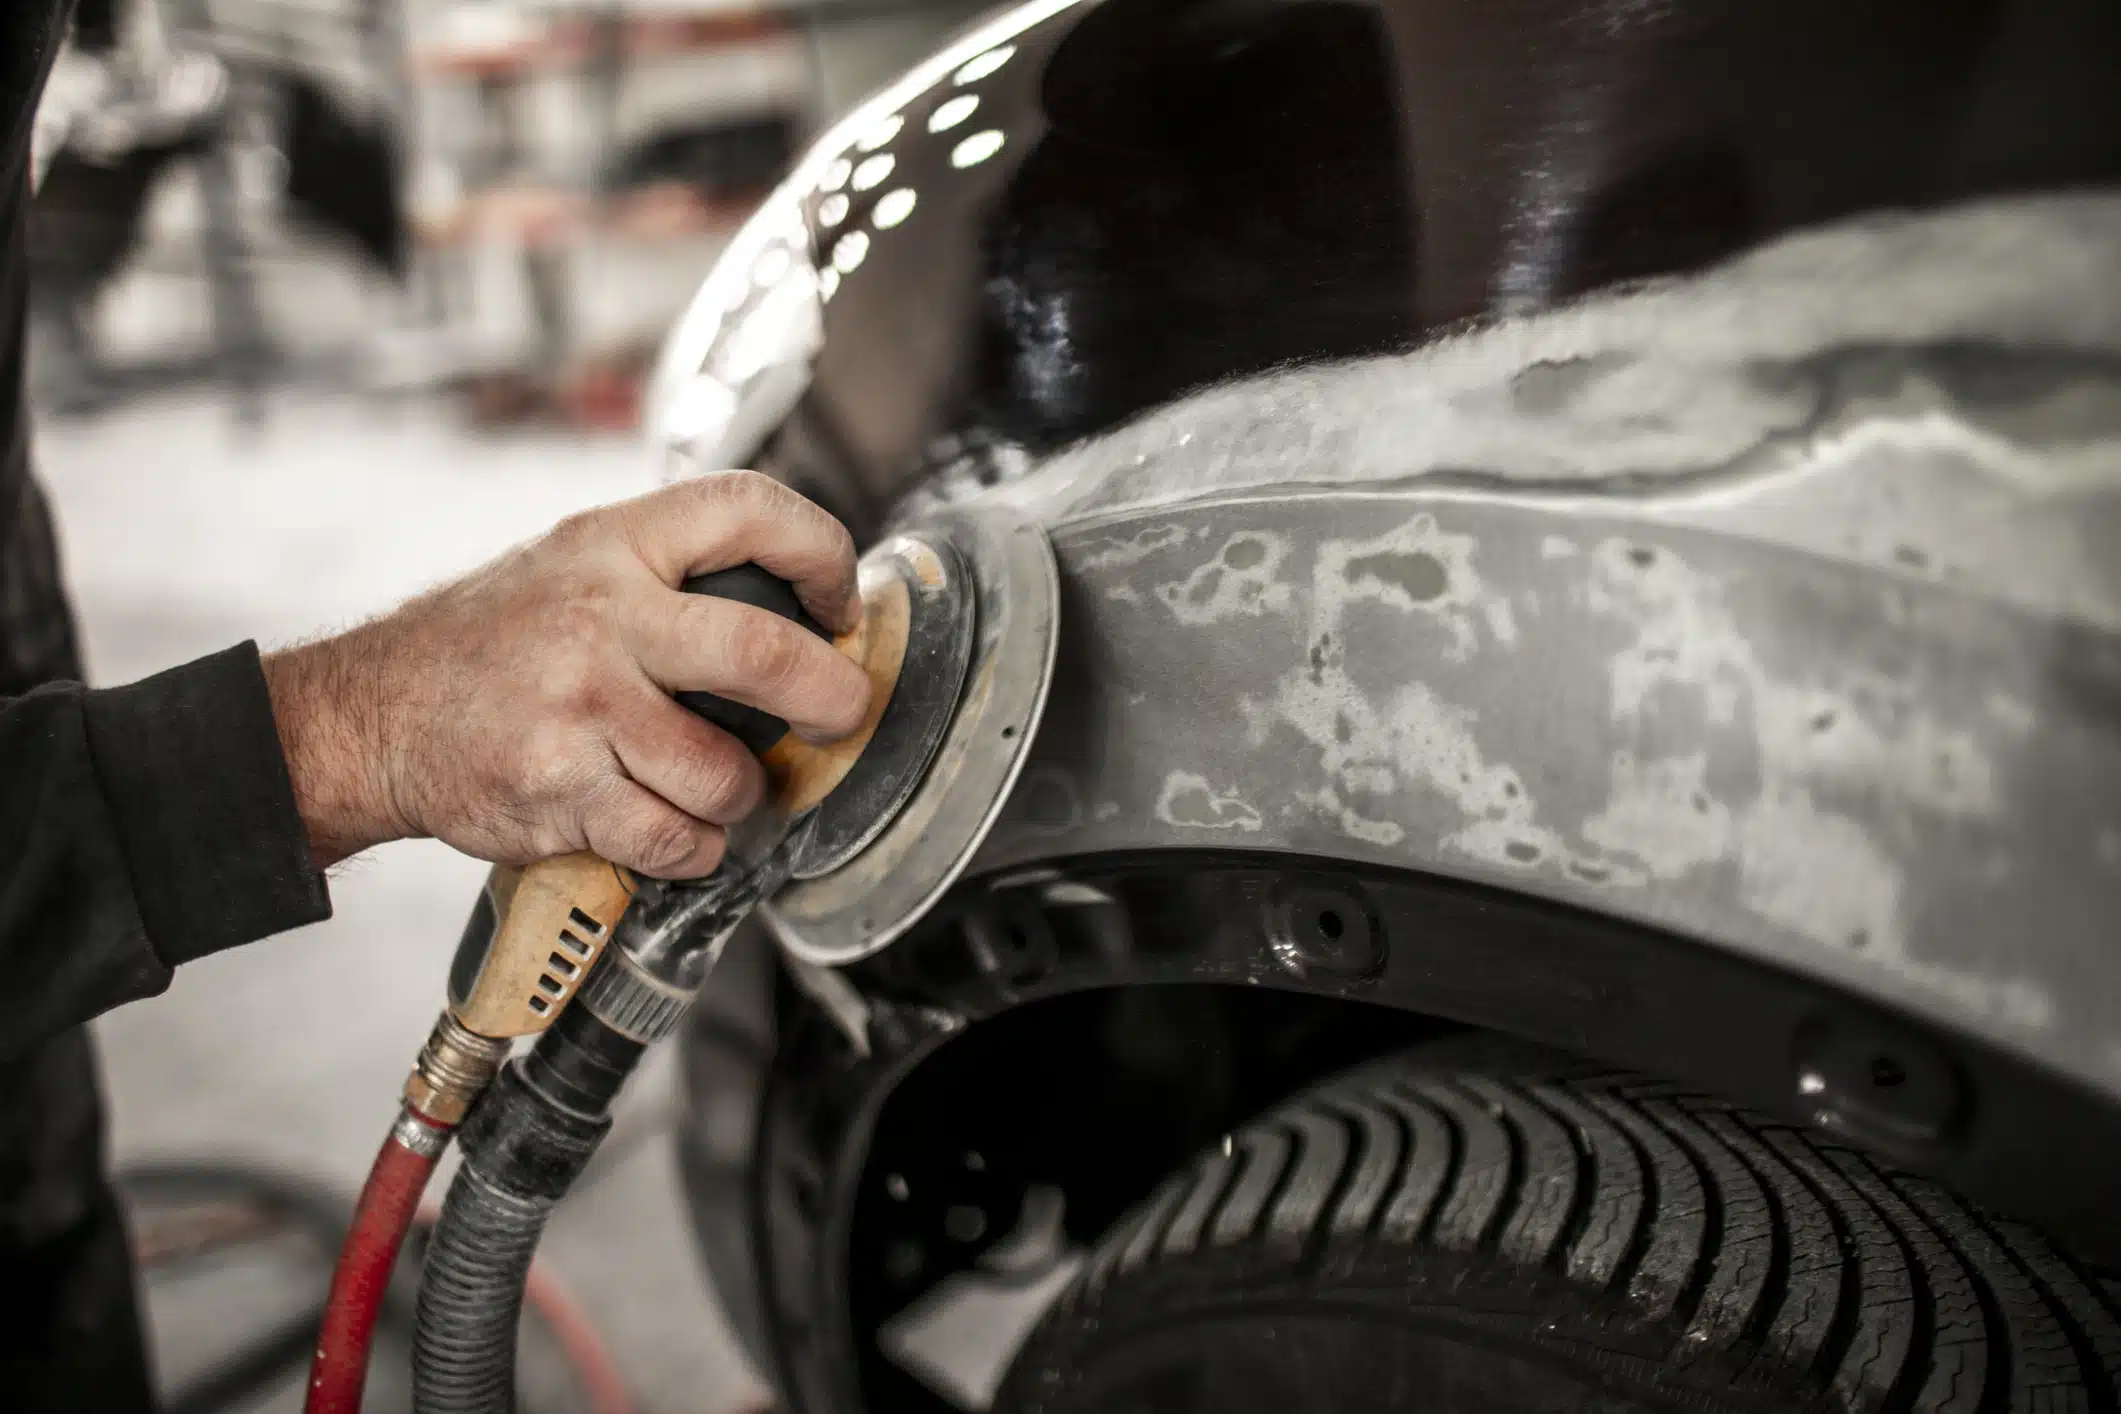
Step 4: Begin sanding
Once your surface conditioning tool is set up, you can begin sanding the vehicle’s surface. Ensure the pressure used remains consistent throughout and work on one panel at a time to remove the paint layers fully before moving on to the next area. You can add more chemical paint stripper as needed if the paint doesn’t remove as quickly in some places.
Other common paint-stripping methods
Although this is the method we recommend using, there are several other techniques that can be used to achieve similar results. Here are a few of the most popular alternatives and how they work.
Chemical paint stripping
This technique is best used when there are many layers of paint, which is usually the case on older cars that have been refinished a few times. It consists of a chemical solution which is applied directly onto the paint and quickly gets to work breaking down the paint.
For this method, start by scratching the surface with 80-grit sandpaper. Then, cover the seams or gaps with cloth tape since this will protect the interior surfaces from being damaged. You can now apply a chemical paint stripper to the vehicle using the method above in step two. Wait 20 minutes or longer after the bubbling appears to stop, and then scrape the paint off using a metal or plastic scraper.
To break down multiple layers of paint, you’ll need to reapply the chemical paint stripper a few times. Once you’re satisfied that all the paint layers have been removed, neutralise the chemical solution with denatured alcohol or soap and water before applying an epoxy primer ideally on the same day.
It’s important to note that this method shouldn’t be used on plastic or fibreglass parts because it can affect the gel coat and the epoxy resin within the fibreglass structure.
Media/sand blasting
Media blasting car paint removal is another method that can be used to remove paint, although if the pressure isn’t properly adjusted, this can warp or bend metal. When used correctly, this technique can easily blast away the layers of paint in under six hours which makes it relatively efficient.
The technique is simple and only requires a sandblaster to be used on the vehicle’s surface once it has been properly masked off.
Acid dipping
This method of automotive paint removal must be practised even before being used by professionals in the industry. For the best results, every screw, nut, bolt and plug must be removed from the surface to ensure a consistent removal. This can also be good for dealing with rust and removing paint from thinner metal vehicles.
Next Steps
Once the old paint is properly stripped away, it’s now time to prepare the vehicle for repainting. To do this, you’ll need to mask it off effectively depending on which areas of the vehicle you’re working on. For example, Masking Films can be applied to the windows and glass or any other large areas of the vehicle that aren’t involved in the respray process. Meanwhile, Foam Masking Tapes like our Prime & Paint Foam Masking Tape or T-TAPE can be applied around apertures to prevent overspray from becoming an issue.
At JTAPE, we’re proud to offer an excellent collection of automotive tapes and films to help with the refinishing process. From cloth tapes to protection films, discover all our products here.